Admin Guide
The complete guide to managing students, exams, marking, and reports on the WGS exam platform.
Dashboard
The admin dashboard gives you a bird's-eye view of the entire platform.
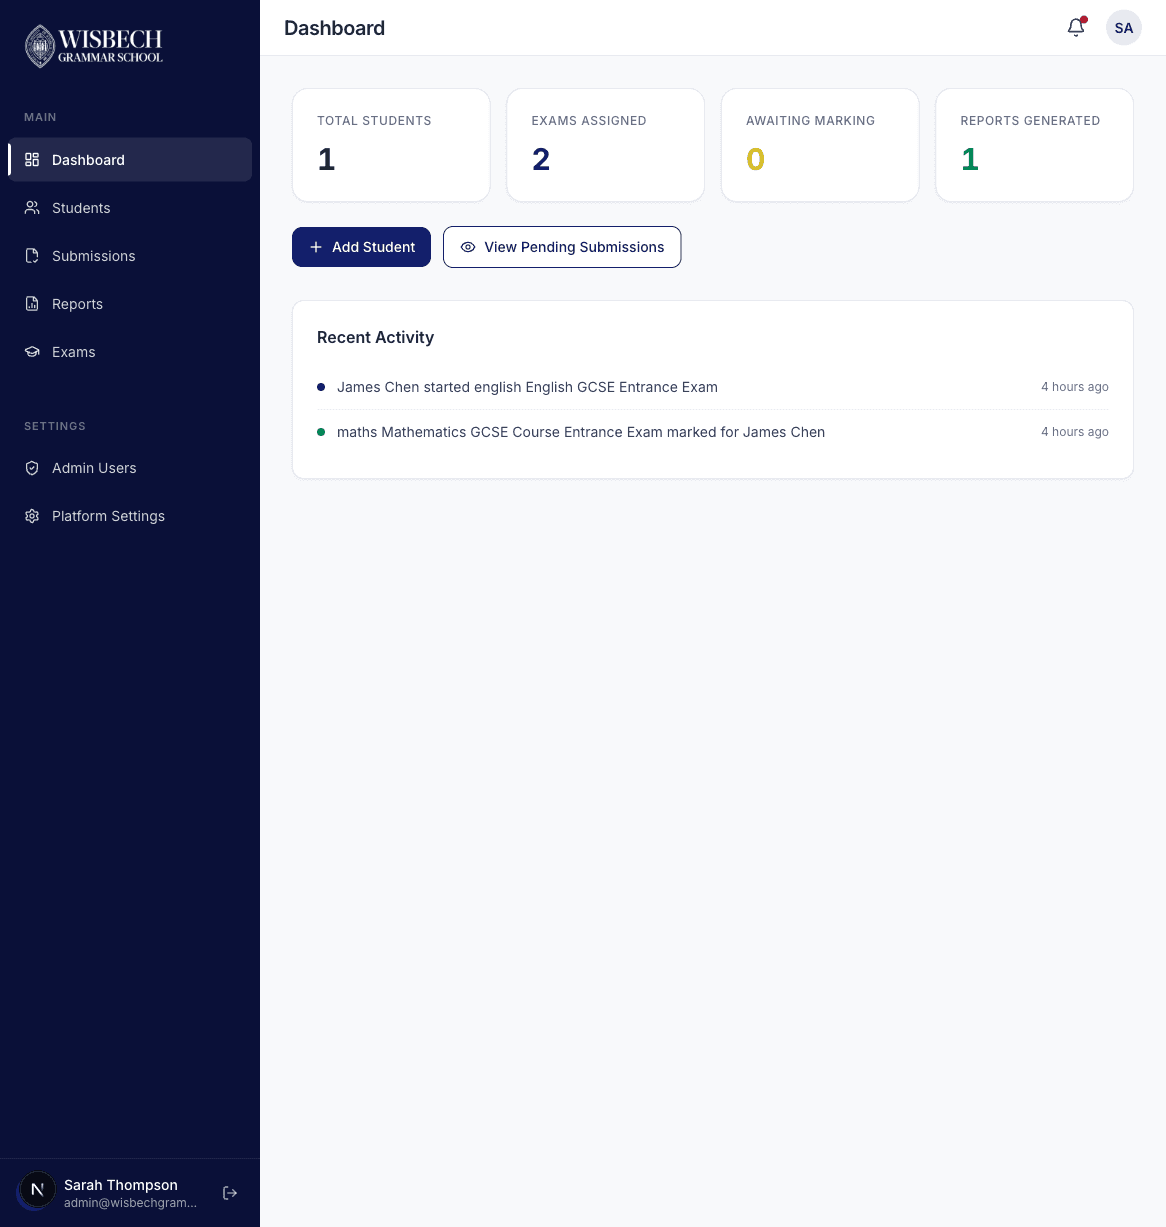
The dashboard includes four stat cards:
- Total Students — the total number of registered students
- Exams Assigned — total exam assignments across all students
- Awaiting Marking — submissions that need to be marked
- Reports Generated — total reports created
Below the stats you'll find quick action buttons (Add Student and View Pending Submissions) and a Recent Activity feed showing the latest events across the platform.
Managing Students
Student List
Click Students in the sidebar to see all registered students.
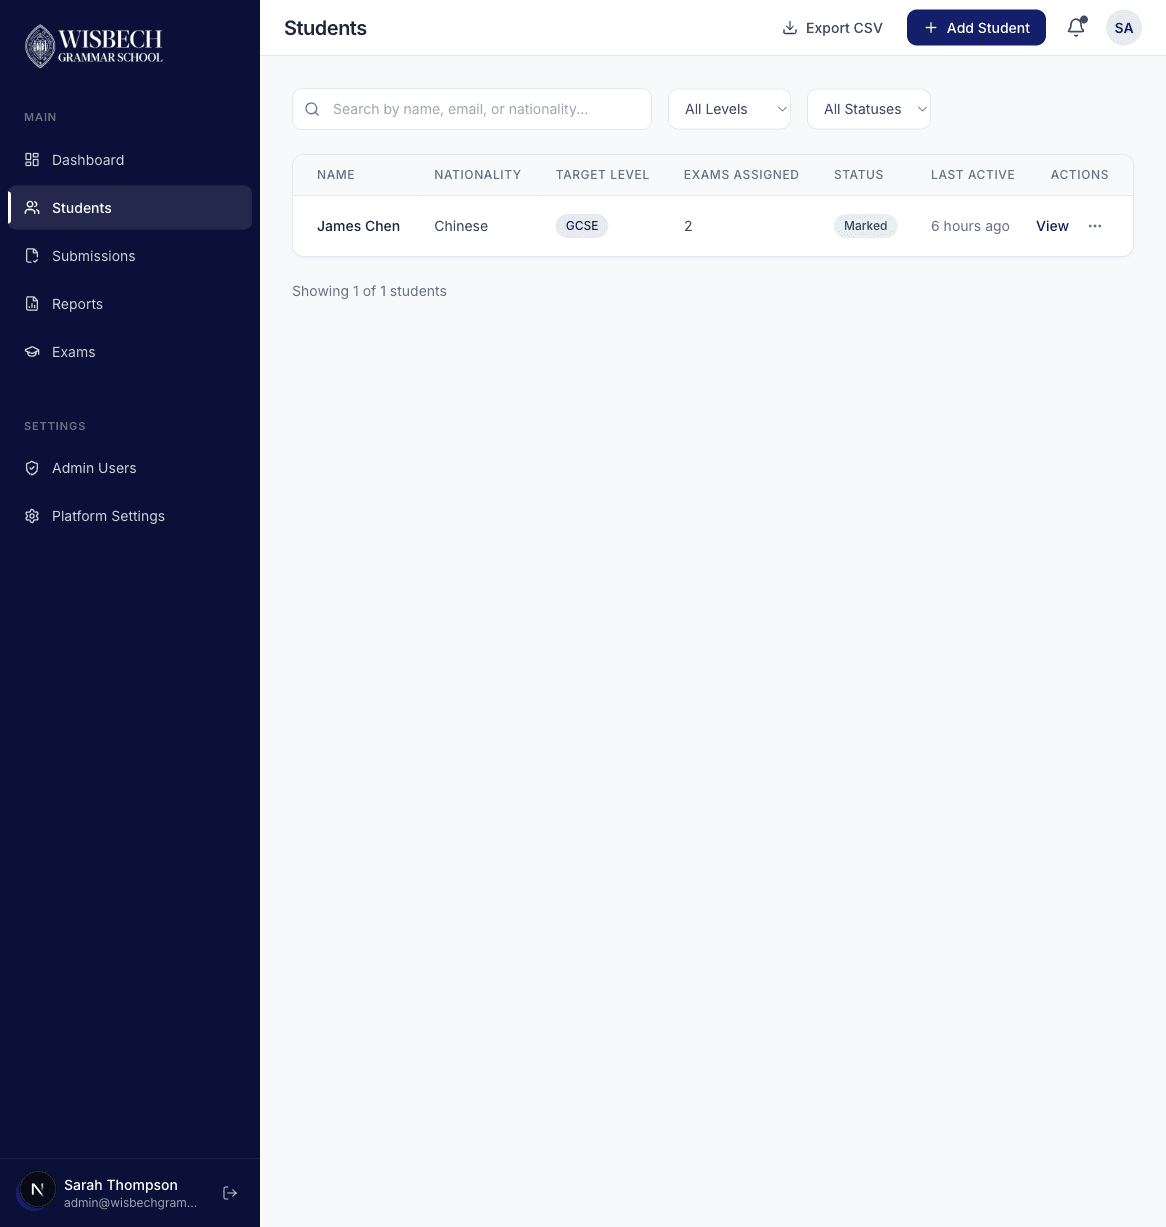
The student list includes:
- Search bar — search by name, email, or nationality
- Filters — filter by target level (GCSE, Pre-A Level, A Level) and status
- Student table — showing name, nationality, target level, exams assigned, status, and last active date
- Export CSV — download the student list as a spreadsheet
Creating a Student
Click Add Student to create a new student account.
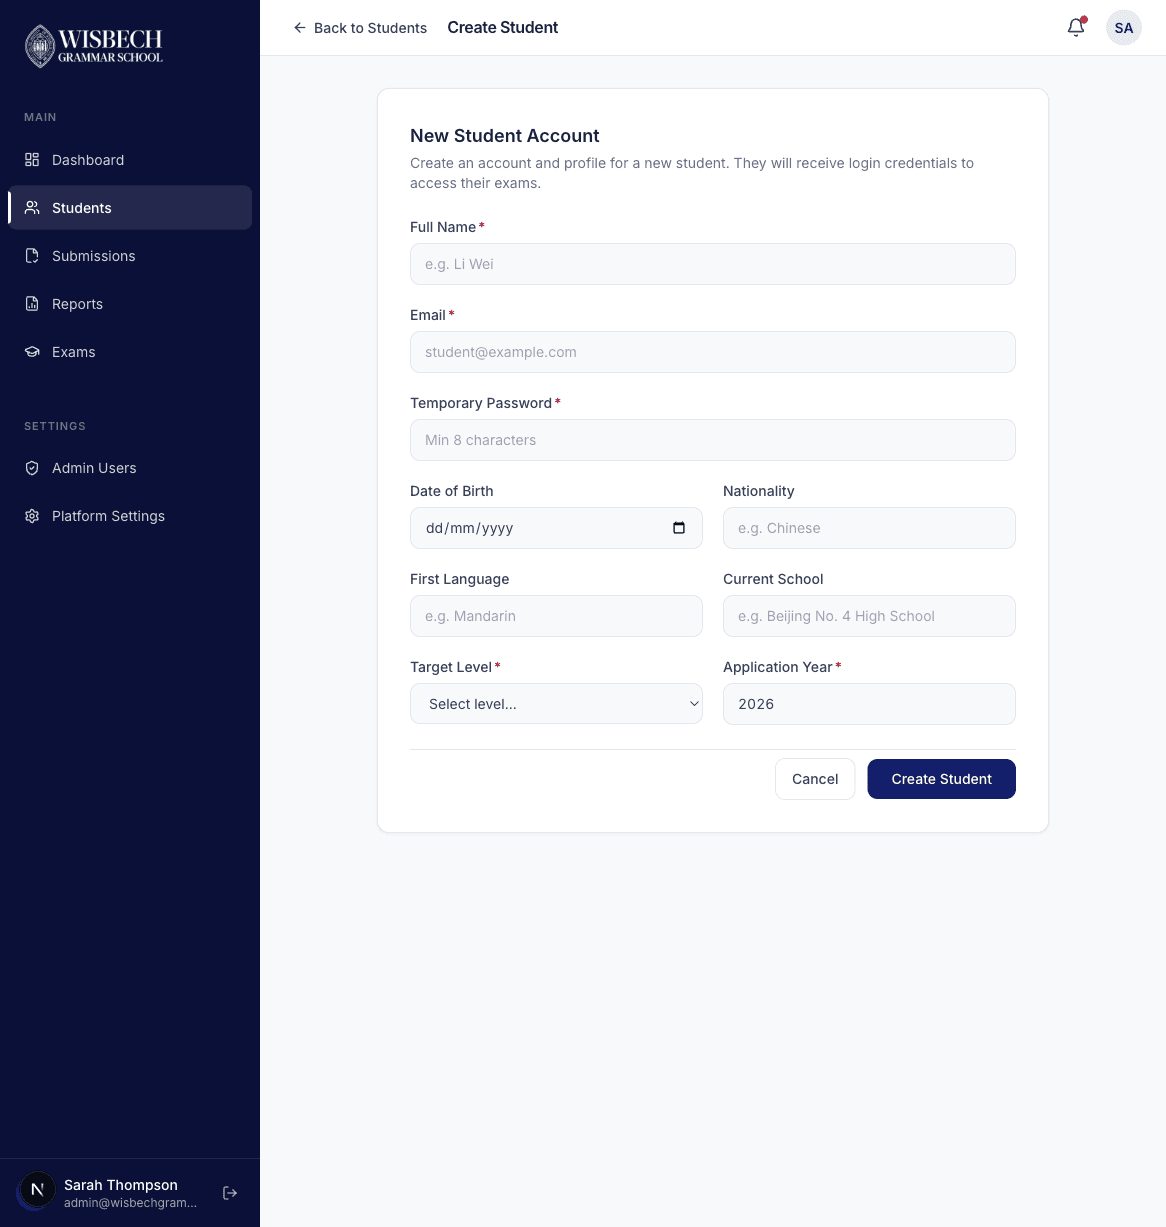
Fill in the required fields:
- Full Name and Email — the student's contact details
- Temporary Password — the student will be prompted to change this on first login
- Date of Birth and Nationality
- First Language and Current School
- Target Level — GCSE, Pre-A Level, or A Level
- Application Year — the academic year they are applying for
Student Detail Page
Click View on any student row to see their full profile.
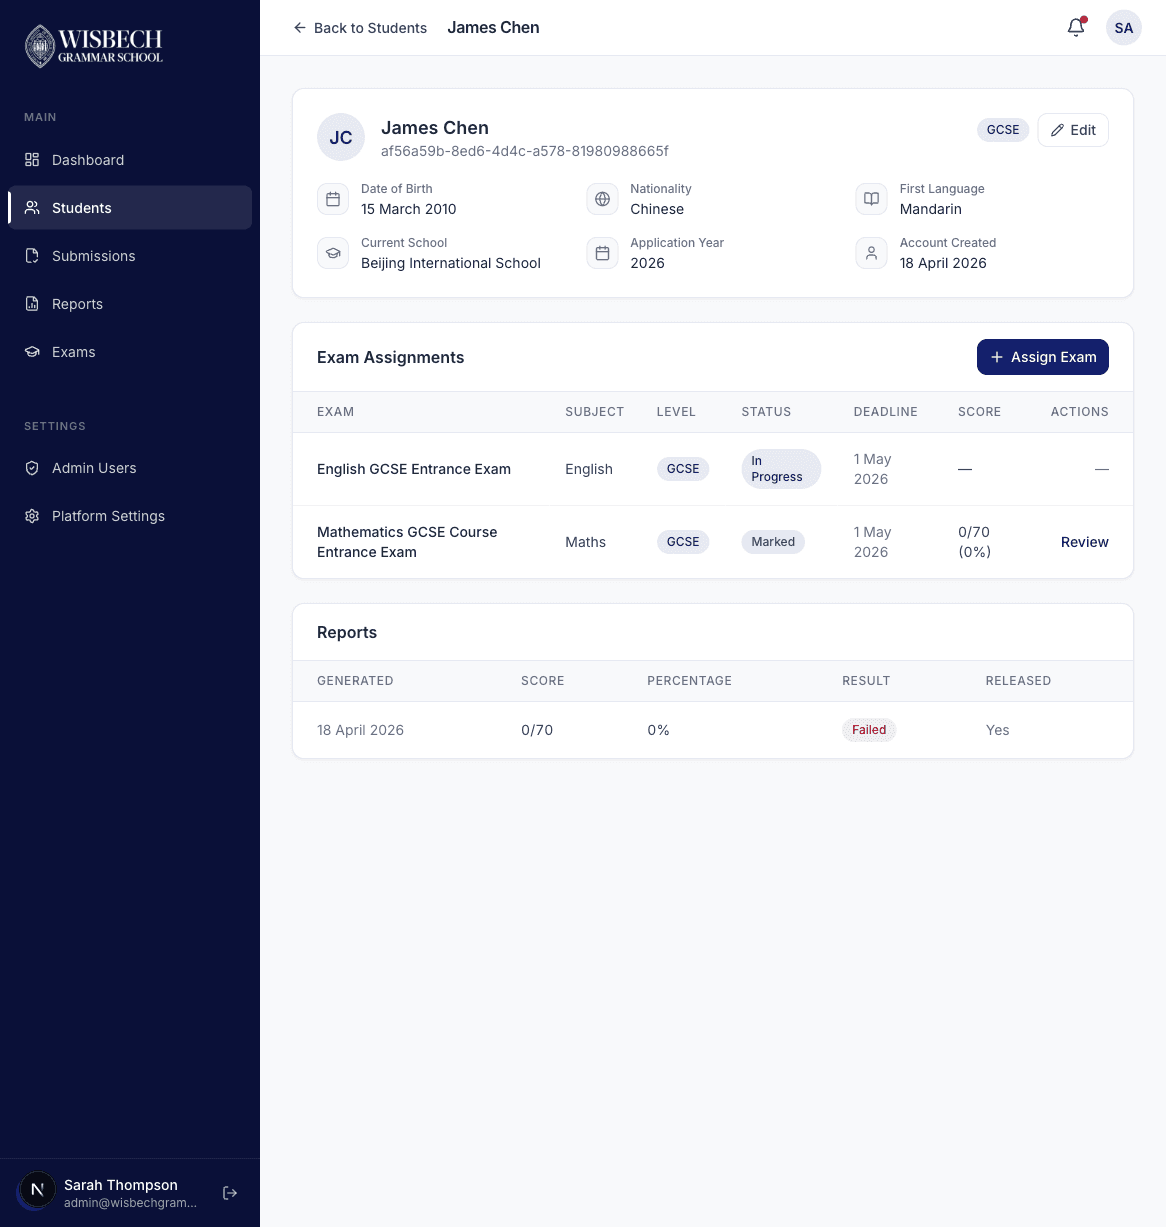
The detail page shows:
- Profile information — all personal details, with Edit button
- Exam Assignments — all exams assigned to this student with their status and deadline
- Reports — any generated reports for this student
Assigning Exams
From the student detail page, click Assign Examto open the assignment modal. Select the exam from the dropdown and set a deadline. The exam will immediately appear on the student's dashboard.
Exam Management
Click Exams in the sidebar to see all available exams on the platform.
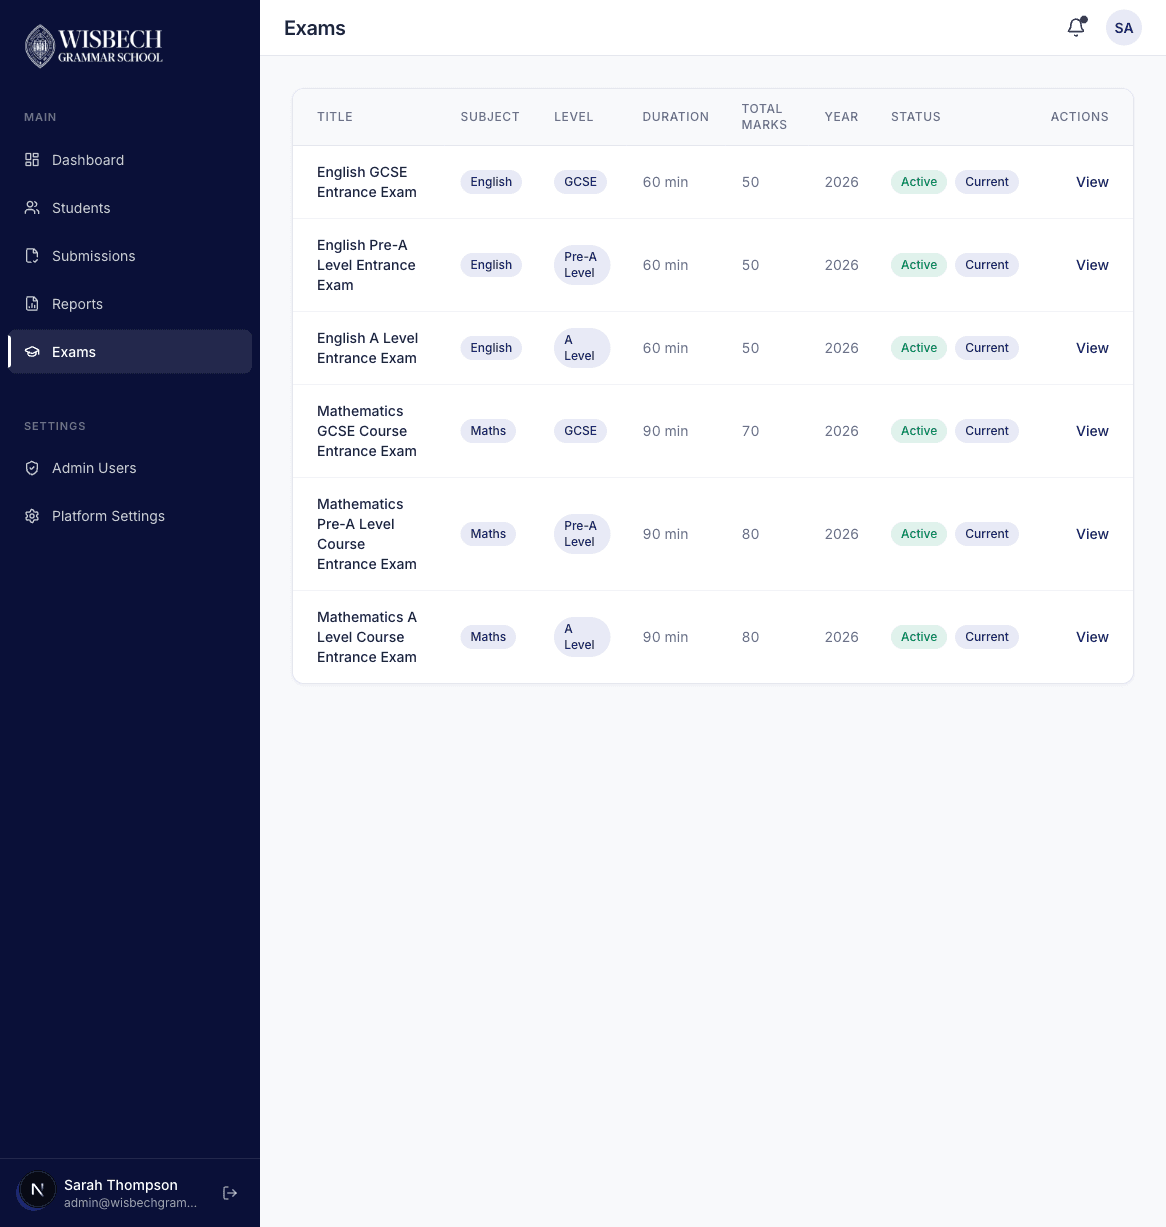
The exams page shows a table of all configured exams with their subject, level, duration, total marks, question count, and status. The platform currently supports six entrance exams across English and Mathematics for GCSE, Pre-A Level, and A Level entry points.
Marking
Click Submissions in the sidebar to see all student submissions.
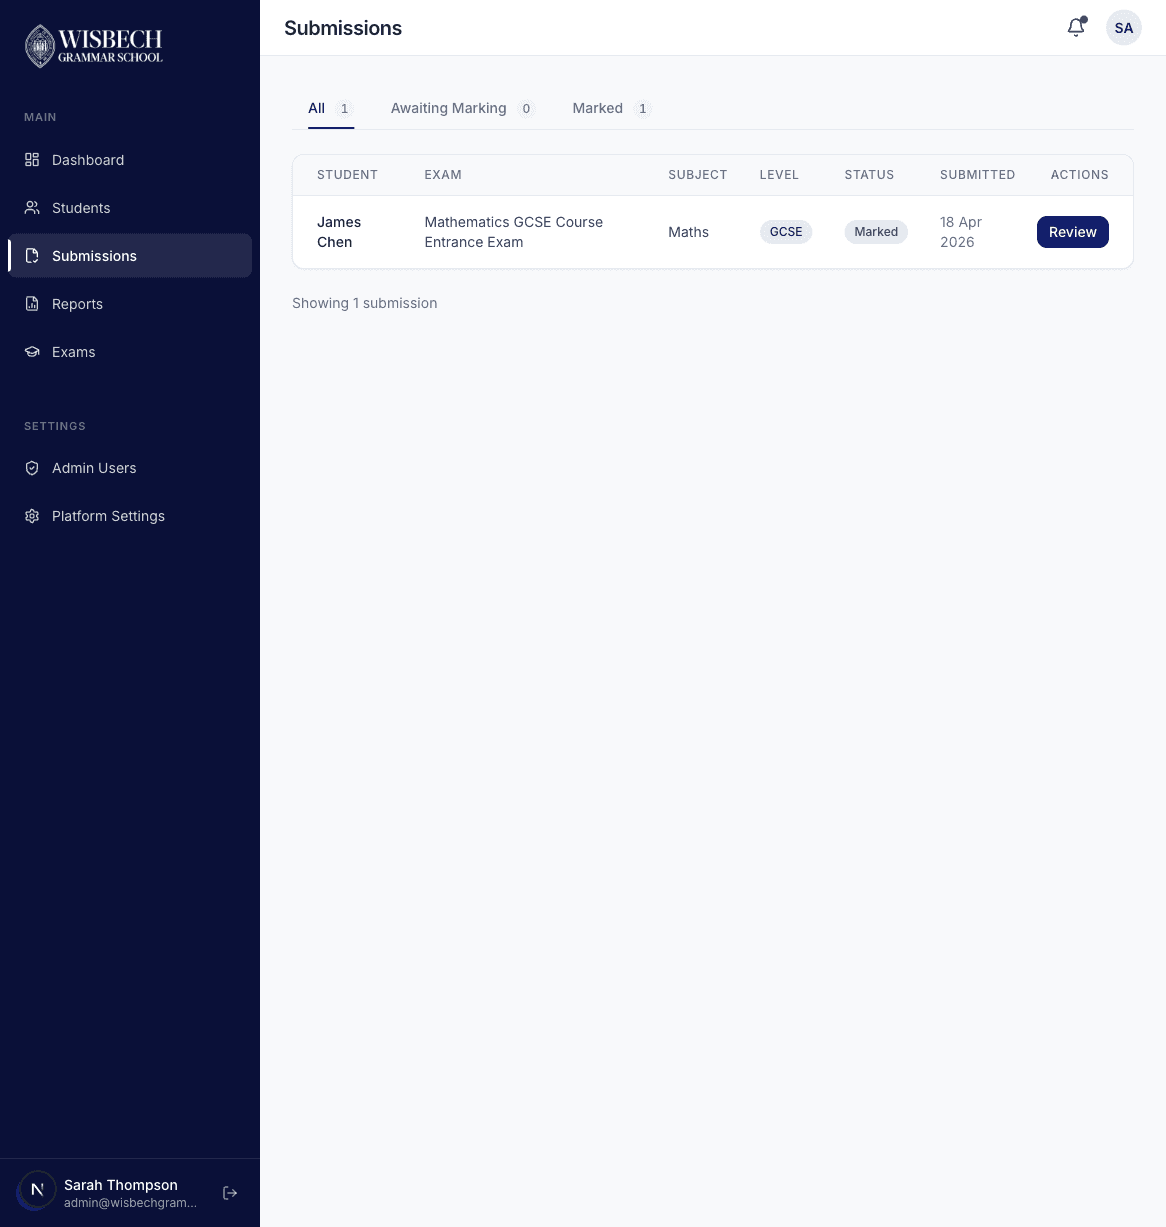
As an admin, you can see submissions across all subjects(unlike teachers who only see their assigned subject). Use the filter tabs to switch between All, Awaiting Marking, and Marked submissions.
The Marking Interface
Click Review on any submission to open the marking interface.
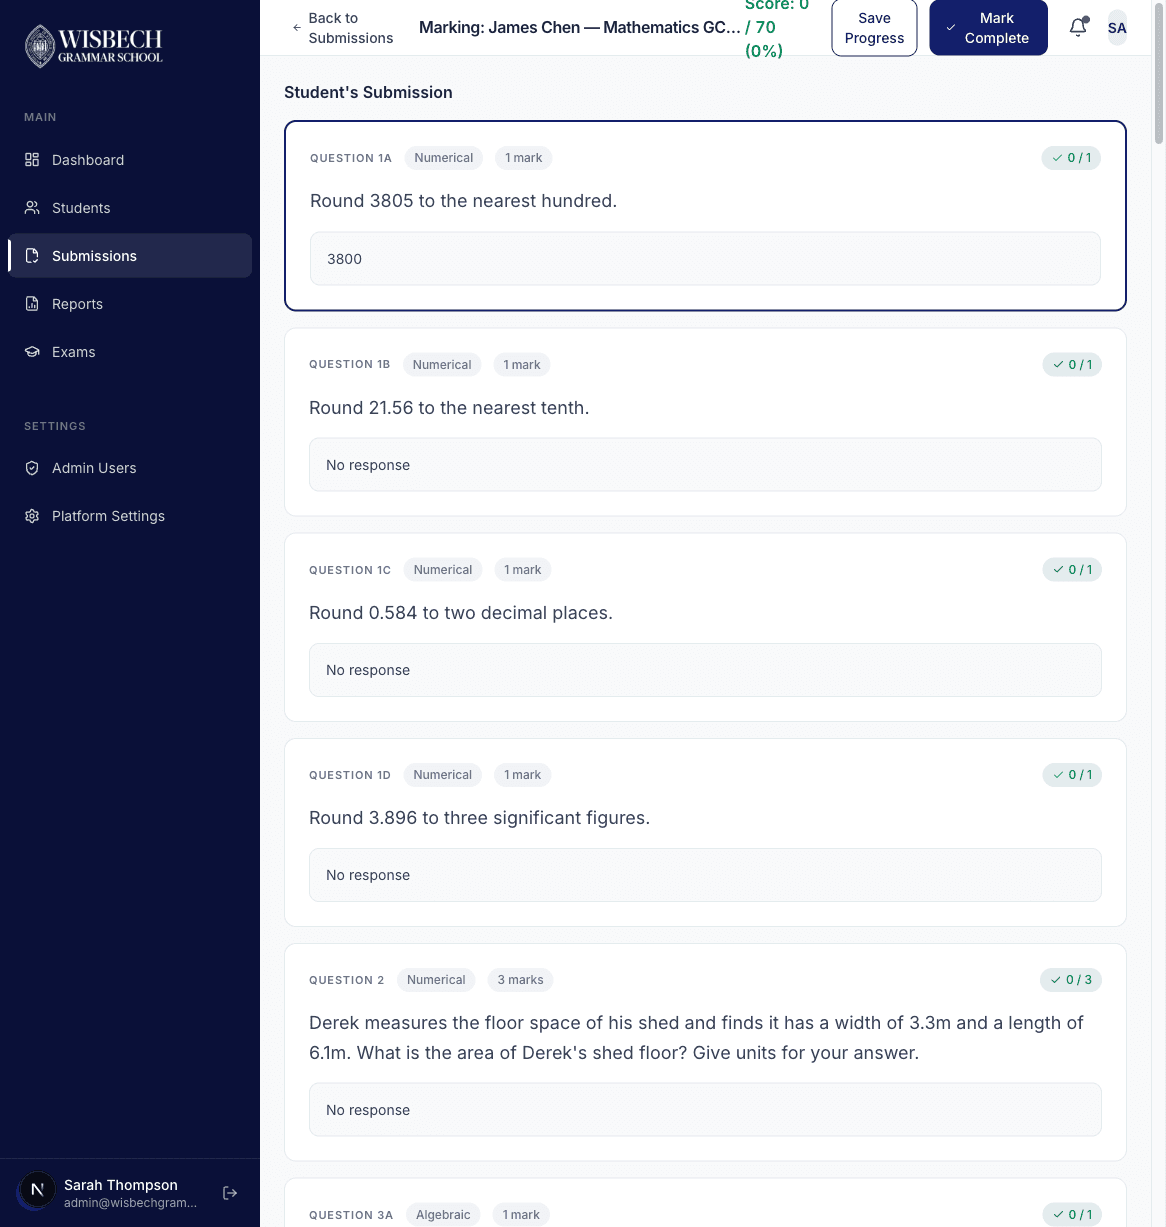
The interface shows:
- Header bar — student name, exam name, running score total, Save Progress and Mark Complete buttons
- Question cards — scrollable list of all questions with the student's answers
- Auto-graded indicators — multiple choice questions show green checkmark (correct) or red cross (incorrect) automatically
- Score inputs — click a question card to expand the marking panel and enter marks and feedback
The marking workflow is the same as described in the Teacher Guide. The key difference is that admins can mark exams for any subject.
Reports
Click Reports in the sidebar to manage all generated reports.
Reports go through three stages, shown as status badges:
- Draft — report generated after marking is complete, but not yet reviewed by admin
- Final — report has been finalised by admin (scores are locked)
- Released — report has been released and is now visible to the student
Finalising a Report
Open a draft report and review the scores, section breakdown, and question-level details. When satisfied, click Finalise to lock the scores. Once finalised, marks cannot be changed.
Releasing to Student
After finalising, click Release to make the report visible to the student. This action:
- Sends an email notification to the student
- Makes the report accessible from the student's dashboard
- Changes the report status to Released
Viewing a Report
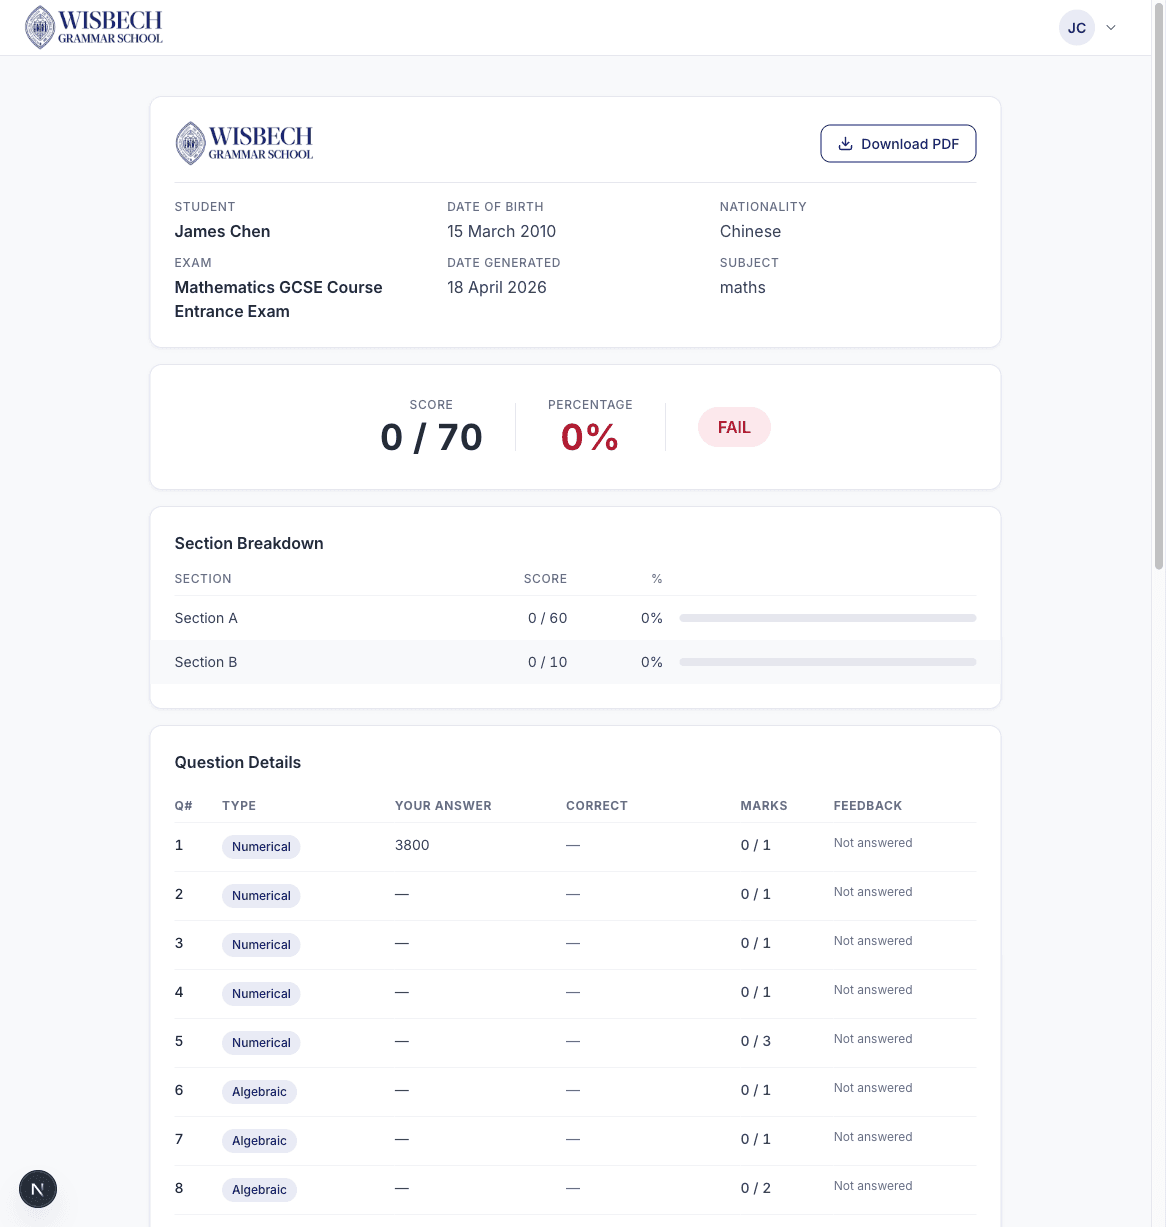
Each report shows:
- Student information and exam details
- Overall score with pass/fail indicator
- Section-by-section score breakdown
- Question-level detail table
- Download PDF button — generates a formatted PDF report
Examiner Comments
Before finalising, you can add or edit examiner comments on the report. These comments are included in the PDF download and visible to the student once released.
Workflow Summary
The complete exam lifecycle follows this flow:
Create Student
Register a new student account with temporary credentials
Assign Exam
Assign one or more exams from the student detail page
Student Takes Exam
Student logs in, reads instructions, and completes the exam
Teacher Marks
Teacher (or admin) reviews submission and scores each question
Admin Finalises
Admin reviews the report and locks scores
Admin Releases
Admin releases the report — student is notified by email
Student Views Report
Student views scores, section breakdown, and downloads PDF